Drawing
12 Random Animal Drawing Prompts for Your Next Sketch Session
Turn one random animal into 12 focused drawing exercises, with a 20-minute practice plan, reference tips and a simple way to review your sketches.
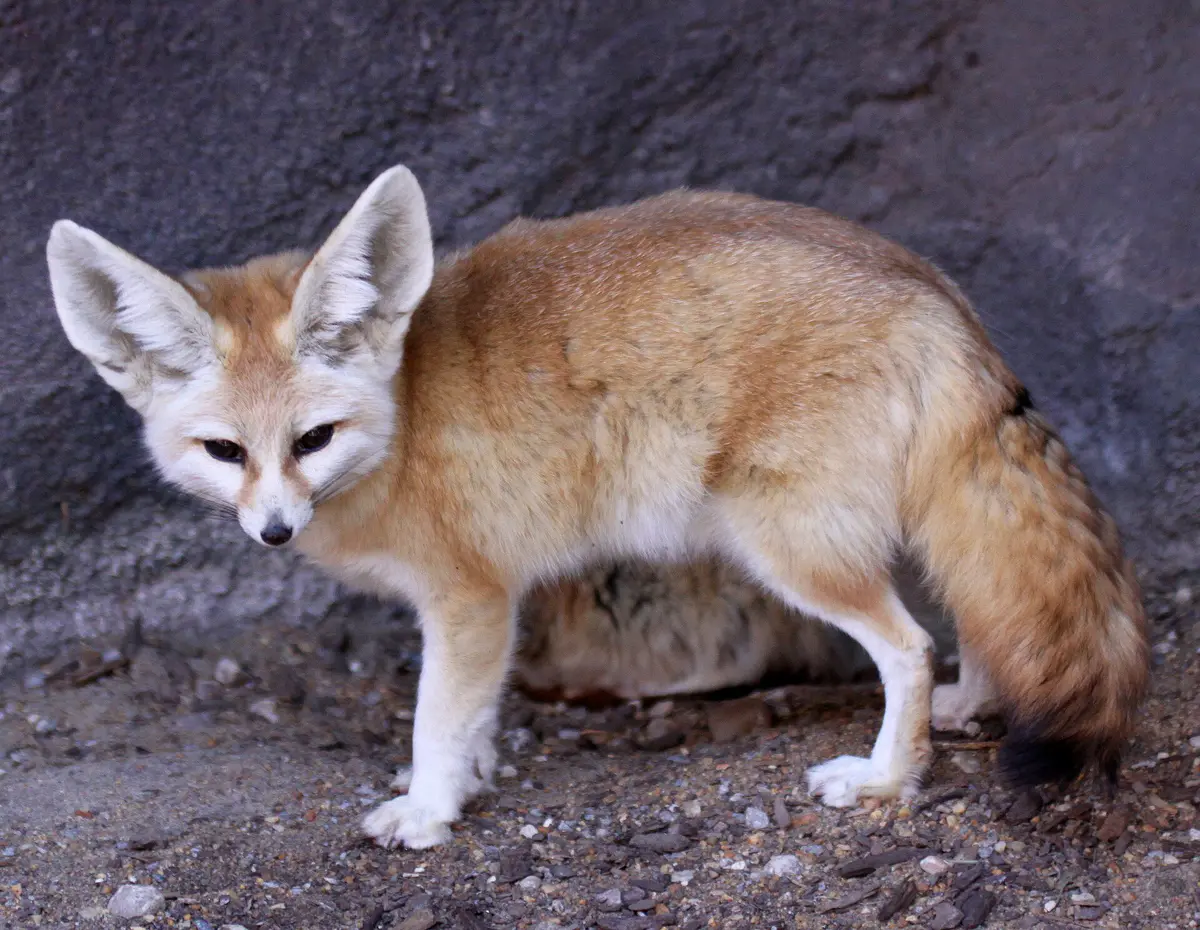
A random subject solves the question of what to draw, but it does not tell you what to practice. Pair an animal with one clear constraint: a silhouette, a limited number of shapes, a close-up, or a short time limit. The result is a task you can finish rather than an open-ended demand to make a perfect picture.
Use these prompts with your own reference or a photograph from an animal profile. They are suggested exercises, not a difficulty ranking of animals. A familiar pet in a complicated pose can be harder to draw than an unfamiliar animal in a clear side view.
Choose a reference you can actually use
Generate one animal, then look at the photograph before starting. Can you identify the head, body and main limbs? Is the pose clear enough for today's exercise? Keep a reference with a readable outline for a silhouette study; choose a closer view for a texture or facial-detail study.
The generator chooses an animal, not a drawing difficulty. You can browse its profile or another properly sourced photograph when you need a different angle. Set a limit of two replacements so that searching does not become the whole session. The timer in the plan below is your own timer, not a built-in site feature.
Pick one of these 12 constraints
Apply a single prompt to the selected reference. The aim is to make a visible decision about shape, line or composition, not to add every detail you can see.
| Prompt | What to do |
|---|---|
| 1. Silhouette only | Fill the outer shape; leave out internal marks. |
| 2. Five large shapes | Build the subject from no more than five main shapes before adding details. |
| 3. One continuous contour | Keep the pencil on the page for one uninterrupted outline study. |
| 4. Negative space | Draw the spaces around and between body parts first. |
| 5. Head close-up | Crop to the head and compare the placement of visible features. |
| 6. Three values | Use only light, middle and dark areas. |
| 7. Texture patch | Study a small visible area of fur, feathers, scales or skin. |
| 8. Line-weight study | Use heavier lines for your chosen focal area and lighter lines elsewhere. |
| 9. Three thumbnails | Place the subject in three different page compositions. |
| 10. Two-minute gesture | Capture the main direction and balance of the photographed pose. |
| 11. Observation and memory | Observe, hide the reference, sketch, then reopen it and mark differences. |
| 12. Fact-inspired scene | Research one habitat detail, then use it in a clearly imagined composition. |
A 20-minute practice plan
Use the same animal for the whole session. Keeping the subject constant makes it easier to compare your choices across exercises. Put the reference beside the drawing rather than repeatedly switching browser tabs.
Spend two minutes observing the outline and major proportions. Spend three minutes on a silhouette, five minutes on the five-shape construction, and seven minutes on a three-value sketch. Use the final three minutes to compare your work with the reference and write one specific change for the next attempt.
- Observation: identify the longest axis and largest mass.
- Construction: place the body before the smallest features.
- Review: name one proportion to correct, not just whether the drawing looks good.
Make a difficult result manageable
An unfamiliar subject does not require an immediate reroll. Crop to one visible area, remove the background, or reduce the exercise to an outline. When a limb is hidden, do not invent its anatomy for an observational study; draw what the image supports or find another reference.
For a bigger challenge, compare two views of the same animal or make three compositions from one reference. Label invented poses and settings as imaginative work. That distinction is especially useful when a sketch will be presented alongside factual information.
Keep a reference note
Write down the animal name, profile URL, image source and the exercise you chose. Add the session date and one observation about the picture. A short note makes it possible to repeat the exercise with the same reference instead of trying to recreate a random draw.
Check the original image license before redistributing the photograph or sharing an adaptation. Creative Commons recommends retaining the title when provided, creator, source and license in attribution. Different licenses have different reuse conditions; a freely viewable image is not automatically unrestricted.
Sources for this section: Creative Commons: Reusing CC-Licensed Content
Review the decision, not just the finished picture
At the end, compare the result with the constraint you selected. A silhouette succeeds when its outline communicates the subject, not when it contains detailed fur. A three-value study succeeds when you made deliberate value groups, not when it reproduces every shade.
Keep a small series of dated studies. For the next session, repeat the weakest exercise with a new animal or repeat the same reference at a different size. That gives the next random draw a purpose while leaving the choice of subject open.
Sources & further reading
References support the specific factual or image-reuse points noted above. Activity formats are suggestions from Random Animal Picker.
Questions or corrections? Contact us. Animal facts and image licenses are documented on the linked profiles and in our source policy.